How to Illustrate Hand Lettering
I earn small commissions for purchases made through links in this post. Proceeds help me to continue producing free content.
Happy Friday!
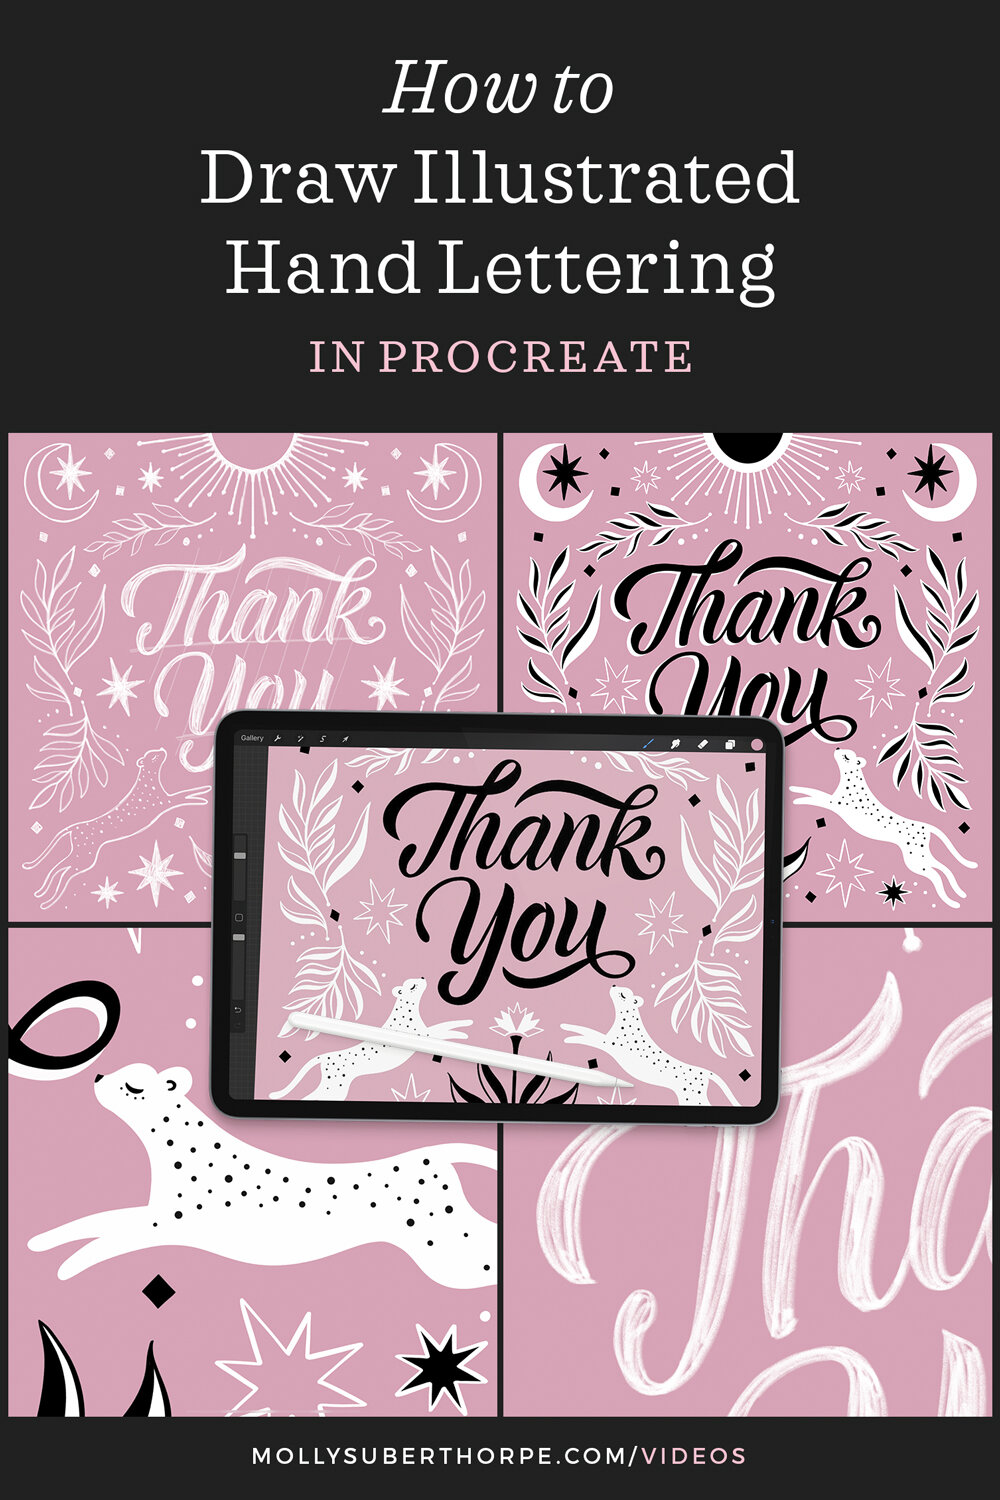
This week’s start-to-finish Procreate lettering and illustration tutorial starts with a pencil sketch and uses my Calligraphy Nib Brushes to illustrate an intricate design. Watch each and every step I make in my work, and follow along yourself!
Today is a quiet follow-along video where I’m creating a hand-lettered layout design with an illustrative border. It includes floral elements and some cute leopards, too! While this is meant for you to be able to sit back, relax, and watch, I have included written instructions overlaid on the video, so you can understand exactly what I’m doing each step of the way. The two calligraphy brushes I use in this drawing are both from my Calligraphy Nibs Procreate Brush Pack:
Fine Point Calligraphy Pen – Smooth
Monoline Calligraphy Pen
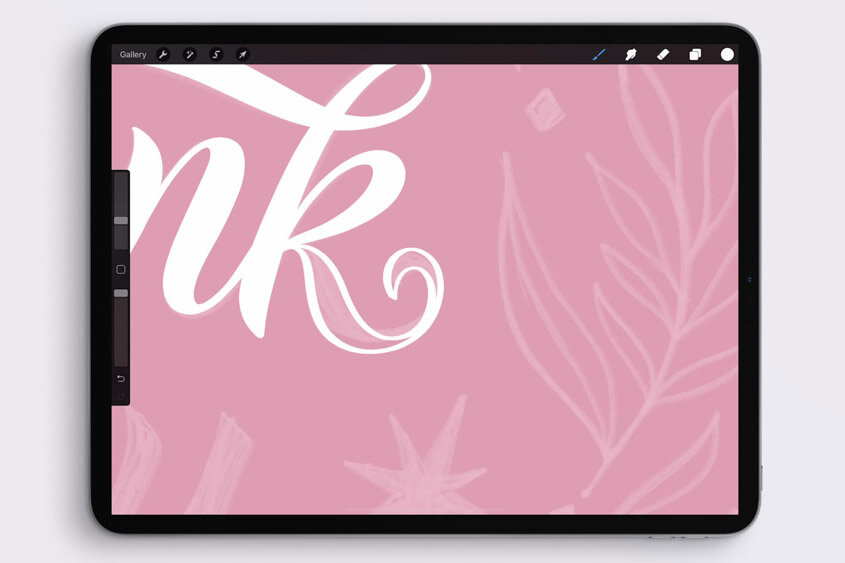
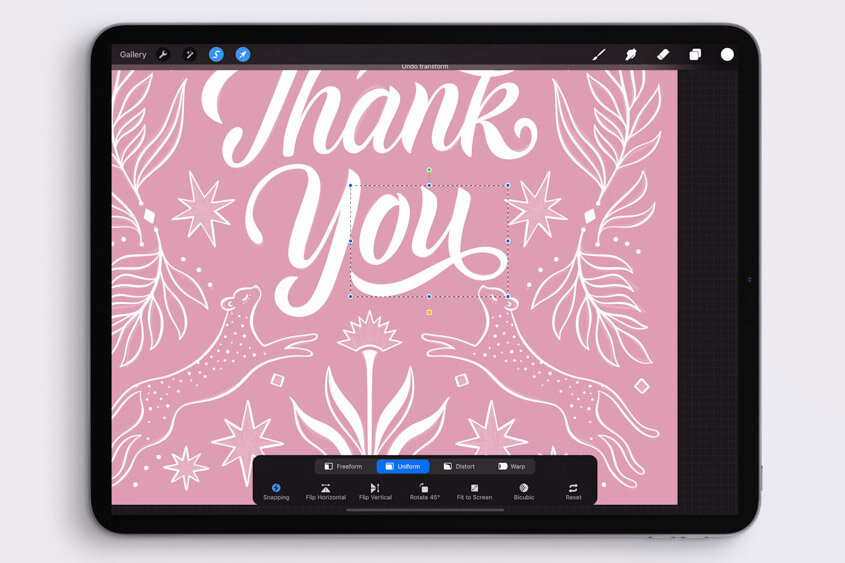
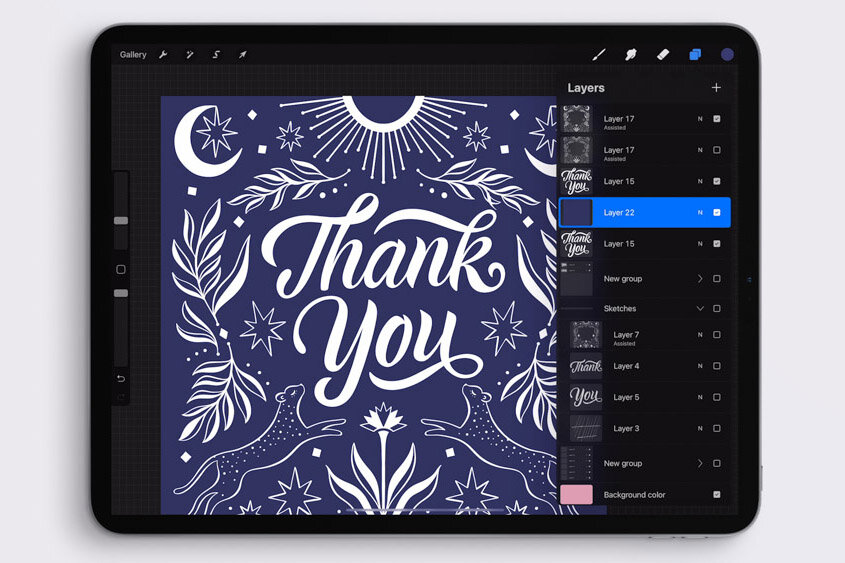
Here are some previews of the steps and techniques you can learn in today’s tutorial:


Looking to get a new iPad?
My in-depth article about this might help! I compare different iPads, and share my favorite iPad accessories, apps, and brushes.
Resources
Procreate brushes used in the video:
Calligraphy & Illustration Brush:
“Fine Point Calligraphy Pen – Smooth”
“Monoline Calligraphy Pen”
from my Calligraphy Nibs Procreate Brush Pack
MORE iPad layout design VIDEOS:
Follow Along: Calligraphy Layout & Flourished Border
My Technique for Flourishing Calligraphy in Procreate
Written on Waves: Modern Calligraphy Layout
Flourished Calligraphy Circles in Procreate
French Lyrics Layout in Procreate
Flourished Calligraphy Quote in Real-Time for Procreate
Like this post? Please Pin it! Share it! Tweet it!
IT’S THE BEST, FREE WAY TO SUPPORT ARTISTS YOU APPRECIATE.


Learn how to draw this 3D drop cap letter G with a retro vibe, geometric dimension, and real texture. This technique uses Procreate for the iPad.