iPad Calligraphy: Recommended Tools, Brushes & Apps
I’m answering your most frequently asked questions about the tools I use for Procreate lettering on the iPad Pro. These recommendations are for beginners just starting iPad calligraphy, as well as seasoned lettering artists building their digital toolkit.
Jump straight to: iPad models, Apple Pencil, iPad Accessories, Procreate Brushes
I earn small commissions for purchases made through links in this post. Proceeds help me to continue producing free content.
The Game Changing Trio
I design calligraphy and lettering brushes for Procreate, too!
I can’t quite overstate what a game changer the trio of iPad Pro, Apple Pencil, and Procreate app was to my career.
I used to spend hours sitting at my iMac digitizing my calligraphy. That involved scanning my ink-on-paper calligraphy at a very high resolution, then opening it in Photoshop to clone out dust, boost the contrast, and often remove the background, before sending it off to a printer. (If you want to learn how, I teach a Skillshare class about it.) It also involved staring straight ahead at a screen and using my Wacom Tablet to do the refining. (I still exclusively use a Wacom for computer work, and love it – it’s just such a different tool from the Apple Pencil that, in my mind, they’re incomparable.)
Every single one of those digitization steps was either eliminated or streamlined when the iPad Pro and Procreate app came out. Now, I create very high-resolution lettering directly on my iPad. (I’m talking 600 dpi or higher!) Since Procreate works with layers, I can create transparent backgrounds from the start, and adjust the colors as I go. All the time I used to spend scanning and Photoshopping can now be spent creating. Not only do I find this more enjoyable, creatively, but it’s invaluable for my business as well. I’m much more productive thanks to this new workflow.
Don’t get me wrong – I still do ink on paper calligraphy, both for myself and for clients! I will never stop loving the unique experience of getting out my ink, prepping my nib, and drawing dip pen letters. However, the fact that I no longer have to do it for each and every calligraphy job has allowed me to return to the days that I do it from enjoyment rather than necessity.
Because I get so many questions about my iPad toolkit and setup, today I’m sharing details about the exact hardware, accessories, and apps I personally use. I’m also giving you my thoughts about what iPad to buy if you’re just getting started. I know there are lots of competing opinions out there, and choosing an iPad for making art (versus, say, watching movies) has special considerations. So without further ado, let’s dive right in!
12.9" Apple iPad Pro

I own the 4th generation, 12.9" iPad Pro. This is my third 12.9" iPad Pro and I’ve loved it more with every upgrade. I got the first generation model back when it was released in 2015, then upgraded to the third generation in 2018, and then the fourth in 2020. Following the evolution of the Pro has allowed me to compare the various improvements and appreciate each one along the way.
If you’re an artist who has been eyeing an iPad Pro – whether it’s your first or an upgrade – there are a number of factors to consider. I’m here to give you my perspective on each, from the standpoint of a professional lettering artist who uses the tool every day in her work. I am starting with this caveat because I can’t speak to using the iPad for much else than making art. I work with large, layered files, take lots of screen recordings, and integrate the iPad into my workflow with Adobe CC. This means my own requirements for a tablet may be greater than those of an amateur artist, but I will strive to provide recommendations for different types of users.
Screen size: 12.9" or smaller?
Since their initial release, iPad Pros have come in two sizes. They’ve always been available with a 12.9" screen, and the smaller option has evolved from 9.7" to 10.5" and finally to 11". This means people looking to buy a new iPad are choosing between the 12.9" and 11" models, so I’ll stick with comparing those.
I love having the bigger, 12.9" screen size because it’s as large as the average pad of art paper, making the drawing experience as close to analog art as possible. I know a number of artists who use the 11" iPad Pro and are happy with it. (At the time of writing this, the 11" is called “2nd generation” since it’s only the second iteration of that exact size. It came out at the same time as the 4th generation 12.9". I know – it’s confusing.) The starting price for these two sizes is a 200 USD difference. Since price plays a major role, I would leave this choice to you. Both are great devices, so it comes down to canvas size and affordability.

iPad Pros use ProMotion technology, translating to less lag time, and A12Z bionic chips for the fastest processing speed. Graphic from Apple.com (December 2020); text overlays by me.
iPad Pro or iPad Air?
If you’re looking to do some serious art making, I strongly recommend the iPad Pro models (either screen size) over the iPad Air. I say this with the full knowledge that the Pro is a much pricier option, and that it’s genuinely not possible for everyone to get one. However – and this is a big however! – I would personally prefer a used/refurbished iPad Pro to a brand new iPad Air any day of the week. iPad Airs are still relatively expensive brand new (though still much less than brand new Pros), and I’m confident you could find a refurbished iPad Pro for nearly the same price as a new Air. In short: if a brand new iPad Pro is outside your budget, I would opt for a refurbished, recent-generation iPad Pro before going for an iPad Air.
But are the iPad Pro and iPad Air really so different?
From an artist’s standpoint, yes. Apart from the differences you can easily read about – Pro has facial recognition and Air has Touch ID; Pro has a dual camera and Air has a single – there are two big differences when it comes to making digital art:
The iPad Pro uses Apple’s ProMotion technology, which means the screen’s refresh rate is the highest of all the iPads. This translates to essentially no perceptible lag when drawing. In turn, this means better Pencil precision. ProMotion was introduced in the 3rd generation Pro, and it’s the reason I upgraded from the 1st generation. It was worth it.
The Airs are notoriously frustrating to use with Procreate because they limit both file size and layer count. On a screen-sized, screen-resolution canvas, the iPad Pro can have up to 91 layers, whereas the iPad Air 2 can have only 60 (source). Some users in the Procreate forum have reported that Air’s layer limitations really impact their workflow. Hopefully this will change soon, but at the time of writing this (December 2020) it is still a widely-reported issue.
While these differences are not a deal breaker for most people, they are for me. The Pro’s superior Pencil precision and RAM make a huge difference in my workflow.
Storage space
This is a big factor in pricing, and also an easily misunderstood one. When I bought my first iPad Pro, I was convinced that I would need a lot of storage. I got the largest amount possible (and paid quite a premium for it). As it turned out, I absolutely did not need that much storage. I do not use my iPad for downloading movies. I do not use it for storing thousands of photos. I basically do not use it for anything except making art and doing basic web browsing when I travel. I also regularly back up my art files to my computer, and delete old ones that I’ll never need in Procreate again.
For these reasons, when I purchased my second iPad Pro, I downgraded my storage space. Today, my iPad is the 256GB model, even though the 4th generation iPad Pros can go up to 1TB. As I say, I use Procreate on my iPad nearly every day, and don’t hold back when it comes to making large, layered files. I even take lots of screen recordings, which are very big files. In fact, my iPad is jammed with Procreate files and yet I have only used about 100GB of storage. If I ever come close to using up my space, I know that it won’t be with files I still need to access from my iPad, so I will simply transfer them to my computer and delete them from the iPad.
I have talked to some artists who use external drives with their iPad Pro, both as additional storage and backup security. This 256GB External iPad Drive by SanDisk, for example, is well under $100 – a huge savings over adding an extra 256GB of built-in storage to the iPad itself!
So my verdict on storage space? There is no reason to pay for a big storage upgrade unless you're going to use the iPad for other hefty tasks like downloading movies and taking lots of photos. For art making, 256GB–512GB should be plenty. Save the money from storage upgrades and put it toward a screen size upgrade!
iPad Accessories
Whew! With the iPad itself out of the way, let’s move on to my other essential hardware and accessories!

⭐ ⭐ ⭐ ⭐ ⭐
“I’m stunned by this brush kit! The pointed calligraphy pens mirror working with real, flexible pointed nibs.”
— Sarah Richardson / @sarahscript
Author, Copperplate Calligraphy from A to Z
Apple Pencil (2nd Generation)

The pressure sensitivity of the 2nd generation Apple Pencil is unparalleled
The release of the Apple Pencil in 2015 changed the digital lettering and illustration world forever. It immediately became an essential iPad lettering tool for more reasons than one. It was the first tablet stylus that really emulated the sensation of holding an actual pen or pencil. And perhaps more importantly for artists, its highly responsive pressure sensitivity is second-to-none.
I currently use the 2nd generation Apple Pencil. I owned the first generation when it came out, and I had the first iPad Pro. While the functionality of the original Pencil was superior to any other lettering stylus, there were clear drawbacks. The grip was slippery plastic so most people (myself included) needed to purchase a pen grip. It had a small cap over the charger plug that could easily get lost. And charging it required using the iPad’s charger port, meaning the iPad itself couldn’t charge at the same time as the Pencil.
The 2nd generation Apple Pencil solved all three of these issues. There’s no cap anymore because the Pencil uses inductive charging, by magnetically snapping to the side of the iPad. It also has one flat side now, more like a real wood pencil, and the plastic is matte instead of slick.
At first I didn't love that the second generation Pencil magnetized to the side of the iPad to charge, but now I like that a lot. I thought I was going to need my pen grip, and that I’d have to take it off and on to charge the Pencil, but that was not the case. I ditched the pen grip right away. (If you do want a Pencil grip that you don’t have to remove every time you charge it, these silicone Pencil skins are the most attractive I’ve seen!)
The newer pencil also seems more durable than the first model. Still, I recommend buying a new Apple Pencil even if you buy a refurbished iPad. Many people report that it’s almost impossible to guarantee the quality of a used one, and that they tend to have short lifespans.
If your Pencil wears down from being used on a textured screen protector, fear not, because you can buy replacement Apple Pencil tips. (I share my thoughts about this type of screen protector below. Spoiler alert: I don’t like them.)
iPad Pro Magnetic Smart Cover

This iPad Pro smart case replaces my need for a screen protector
I have always used simple, no-nonsense covers for my tablets, but the iPad Pro smart case takes them to another level. Although Apple makes one, I feel they are needlessly expensive. The third-party versions – like mine – are just as good.
Starting with the 3rd generation, iPad Pros have powerful, hidden magnets on the back so that a cover can firmly snap against it without covering the tablet’s edges. This is important because the Apple Pencil charges by magnetically snapping against one edge, and crucial buttons and ports are on the other sides.
Smart cases utilize the auto sleep/wake function, meaning that closing the cover puts the iPad to sleep and opening it wakes the iPad up. They also fold into a small pyramid that functions as a stand, with the option of either a steep or slight slant. In my own work, I alternate between having the iPad completely flat on my desk or just slightly slanted.
This case also replaces my need for a screen protector. The cover is perfectly snug against the glass, and, due to its magnetics, it really doesn’t budge. I almost never take my iPad off my desk, so there is very little chance of something scratching the screen. And when I travel – even out to a café for a change of scenery – I simply slip the entire iPad, cover and all, into this felt sleeve for another layer of protection.
1-Finger Touch Screen Glove
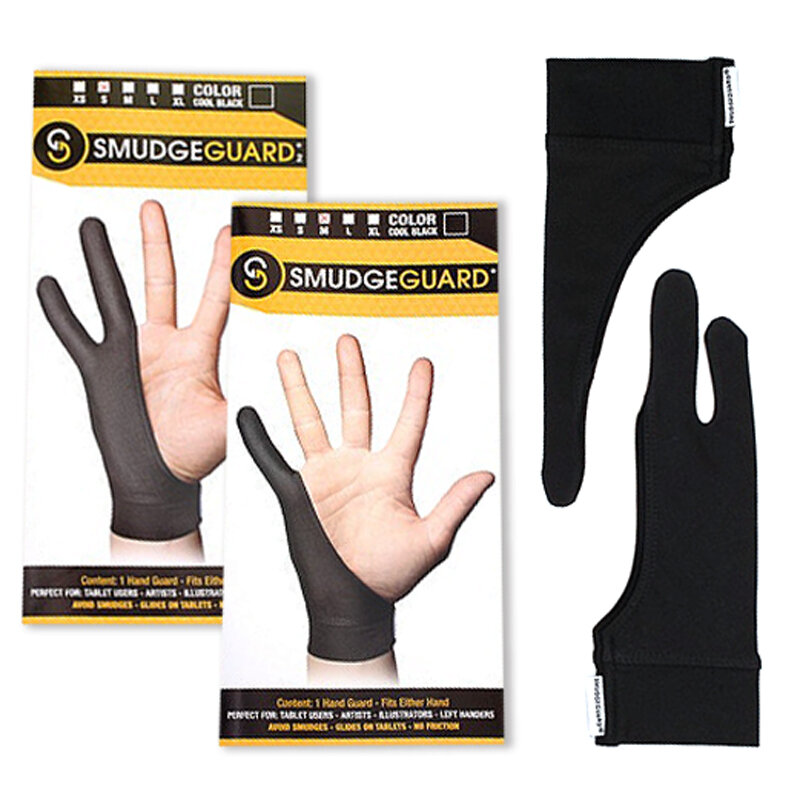
I can’t live without my touch screen glove!
My touch screen glove is an absolute necessity for me. Smudgeguard brand is by far the best I’ve ever used – and I’ve tried a lot. I’m basically a walking advertisement for this glove, and I promise you, they’re not paying me to say this (nor do I make affiliate earnings by linking to them).
I will start by explaining why I use a touch screen glove. When the side of your hand rests on the glass screen as you draw, these smooth gloves prevent oily marks from your skin and make it so much easier to glide across the glass. I never use a screen protector because, unlike many digital artists, I like the way my Pencil glides over the glass screen. This means, though, that I need an added layer between my hand and the glass. (It also means that I can use hand lotion regularly without making any smudges on the screen. This may sound like an insignificant perk, but for me it’s really not!)
iPads have remarkably good touch recognition, and can differentiate between your finger and the side of your hand very well. This means that resting your hand on the screen as your write rarely triggers the touch screen response. I think touch screen gloves were initially intended to solve this issue, before touch screens were so smart, but this is no longer their primary function.
For some reason, the Smudgeguard gloves are only sold in a few places. They’re the best kept secret of touch screen gloves. You can buy them directly from Smudgeguard.com, which ships internationally, but I’ve found that Jet Pens actually ships them faster within the U.S.
Rather than just a one-size-fits-all approach, or just “mens” and “womens” versions, Smudgeguard gloves come in four sizes, ranging from XS to L. (They even have a size guide.) If you look at the picture closely, you can see that these gloves have a wrist cuff, which makes them much more comfortable and snug than other brands. I rarely get so enthusiastic about a product!
You can choose between 1-finger or 2-finger gloves. Choosing which type is right for you depends on how much of your hand touches your writing surface. (It doesn’t matter if you’re right- or left-handed.) Grab a pen and position your hand as if to start writing. Does only your pinky finger touch the table? Then the 1-finger glove is right for you. If your pinky and fourth finger touch, then go for the 2-finger option. (For reference, I wear the 1-finger in size small: this exact one.)
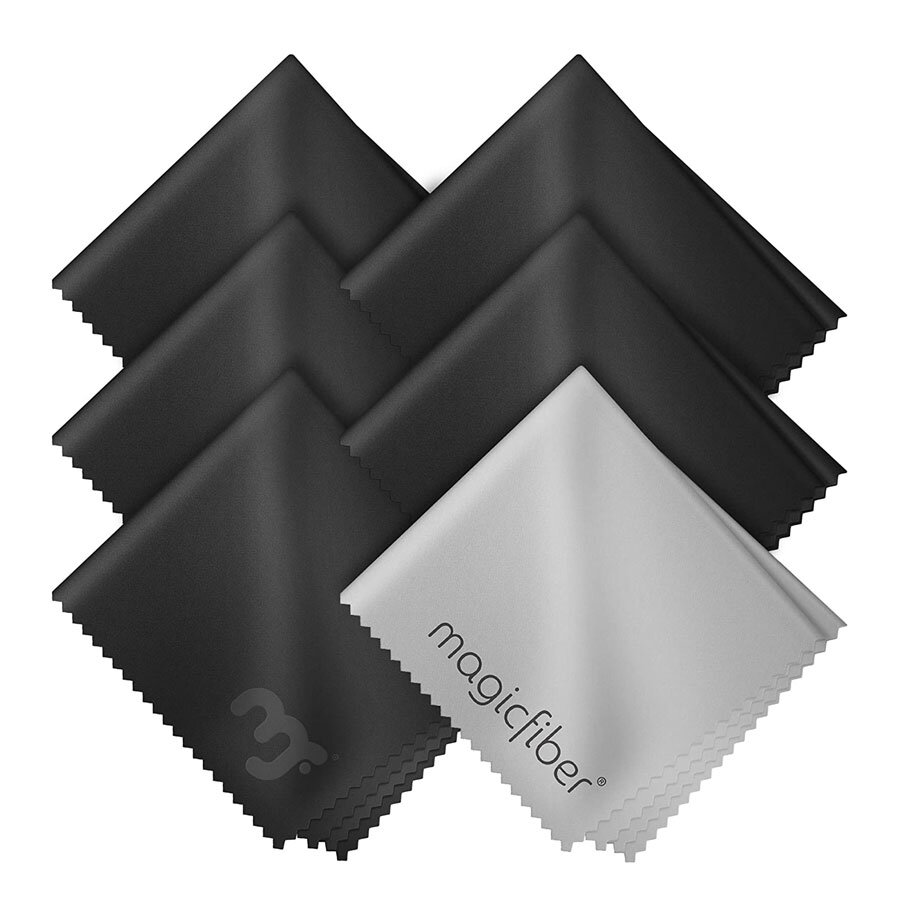
I’d be remiss if I left my mighty screen cleaners off this list. I stop to clean my iPad glass often. Since I don’t use a screen protector (see my reasons below), lots of smudges on the glass can impede the way my Pencil glides around the screen. Even though my glove prevents the side of my hand from making an oily imprint, leaving fingerprints on the touch screen is unavoidable. (Cat paw prints, too, if your feline is anything like mine….)
I have lots of brands of microfiber cloths, and the particular brand is not important. Since I buy so many, I like these affordable packs by MagicFiber, but any screen cleaner that works will do the trick!
(As someone who wears glasses, I have microfiber cloths within arm’s reach all around the house, because I hate smudged lenses even more than smudged screens!)
Draw impressive illustrated mosaics on your iPad. The Fauxsaic Kit for Procreate is everything you need!

When I travel, I slip my iPad – smart case and all – into this handmade felt iPad sleeve
Whenever I have to put my iPad into my purse, whether it’s for a long-haul flight or just a trip to a café, I slip it into this handmade felt sleeve by Nuaca, an Italy-based maker on Etsy. I love it so much! It has impeccable craftsmanship. The felt is really thick and the snap is secure. I keep my Smart Cover on the iPad, my Pencil snapped to the charger, and put the whole thing in the sleeve just like that. I carry my touch screen glove, charging cable, and microfiber cloth in the outer pocket. Nuaca makes these in a range of colors for devices of all sizes.
iPad Screen Protectors
You might notice that one very popular iPad accessory is missing from my list: a screen protector. Apart from feeling that I don’t need a screen protector, there are a few more important reasons why I don’t want one. As I explained in my Smart Cover description above, my iPad sits on my desk 99% of the time, and is always snuggly covered when I’m not using it. There is very little chance of anything actually scratching it. So that’s why I don’t feel I need one, but as for why I don’t want one, that’s a three-part answer:
First, I actually love the slick glass screen. I got used to it early on and trained my hand to work with it, so now I love the feeling of gliding around the screen. (My touch screen glove makes that even easier, as my skin can’t stick to the glass. But I’ll stop telling you how amazing that glove is now.)
Second, the screen protectors that emulate “real” writing surfaces wear down the Apple Pencil tips. This is a pretty universally-acknowledged side effect of using even the most highly-reviewed screen covers, like the Paperfeel Screen Protector. Having to replace your tip regularly seems to come with the territory. If you really don’t like writing on the glassy screen, then by all means, get a screen protector! Many artists swear by them! Just consider purchasing some replacement Apple Pencil tips in advance, too.
And third, screen protectors that affect the screen’s texture will also affect its clarity. You can’t get much crisper than a glass display, and overlaying anything on it impacts this clarity, even if only slightly. Since I don’t mind the feel of the glass, this is not a sacrifice I’m willing to make.
Sometimes, when I’m filming my iPad, I will use a removable anti-glare screen cover to cut out the reflection. It does work for just that purpose, but, if I’m honest, I can’t wait to be done with filming and take it off!

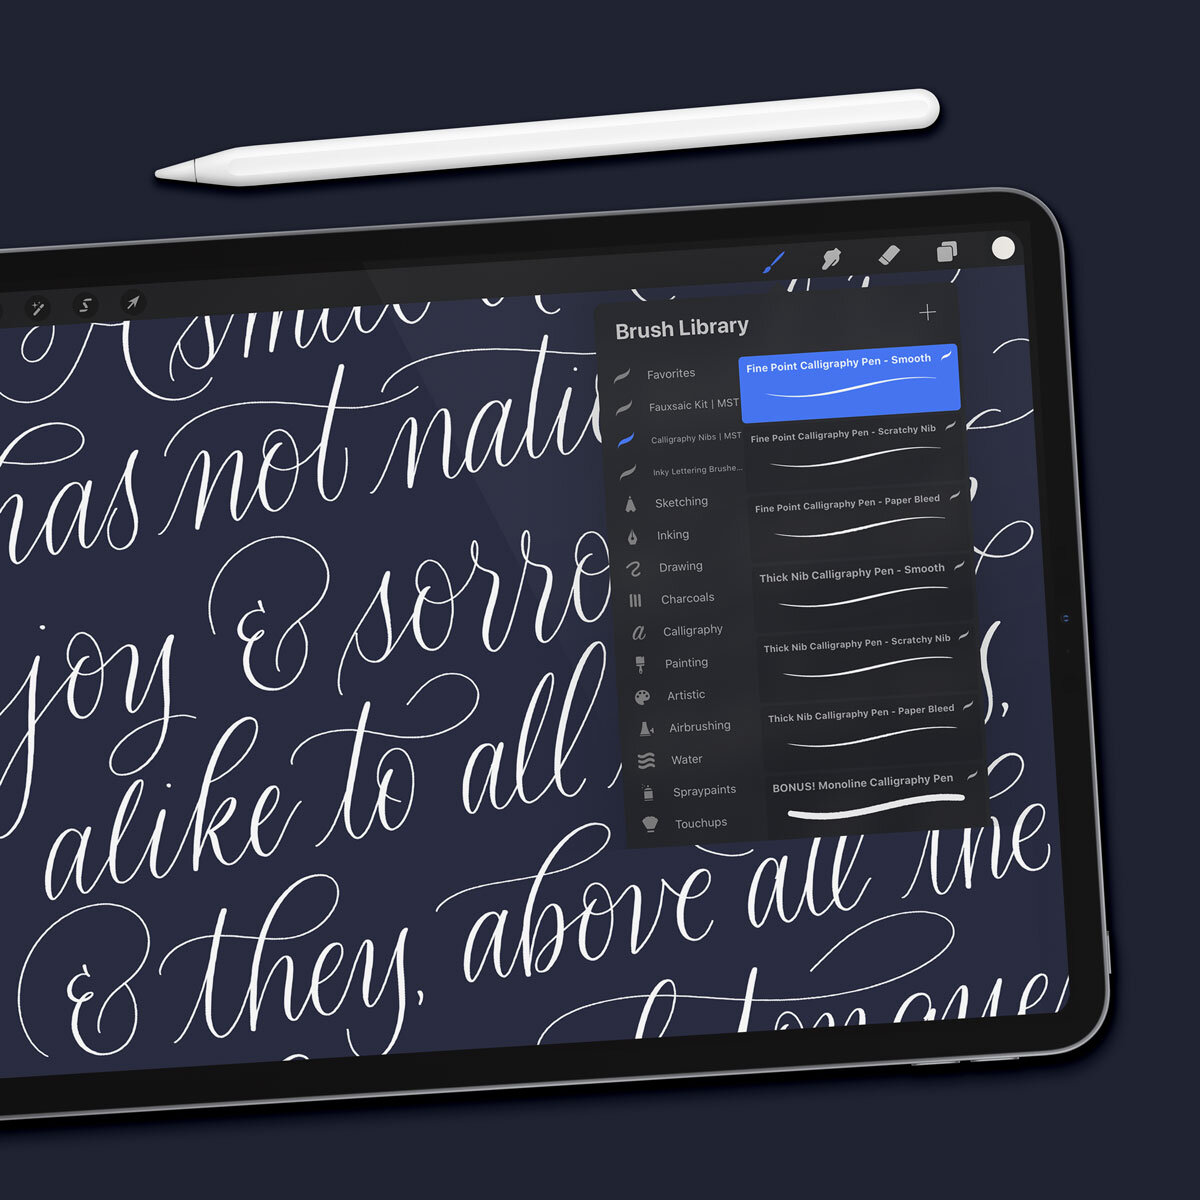
While I don’t think an app is an accessory, per se, what would this list be without Procreate itself? This is the app I use on my iPad more than any other. I extolled many of Procreate’s benefits in the introduction, but will add here that it’s the best pixel-based iPad lettering app out there. (For drawing vector lettering, look no further than Affinity Designer for iPad.)
Procreate is powerful and intuitive. It seamlessly integrates into my desktop workflow (specifically, Adobe Photoshop and Illustrator CC). And it makes the most of the Pencil’s pressure sensitivity by supporting the most responsive, versatile iPad brushes out there.
To see all my tips and tutorials about Procreate, check out my video tutorial library. I also design Procreate brush packs for lettering artists and illustrators!
My Favorite Procreate Brush Packs
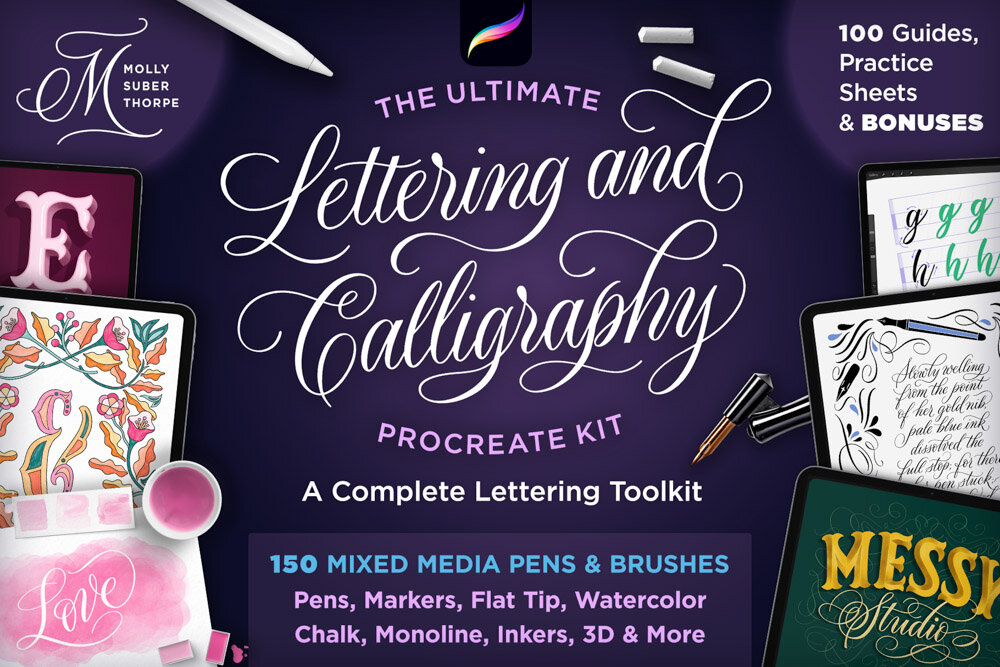
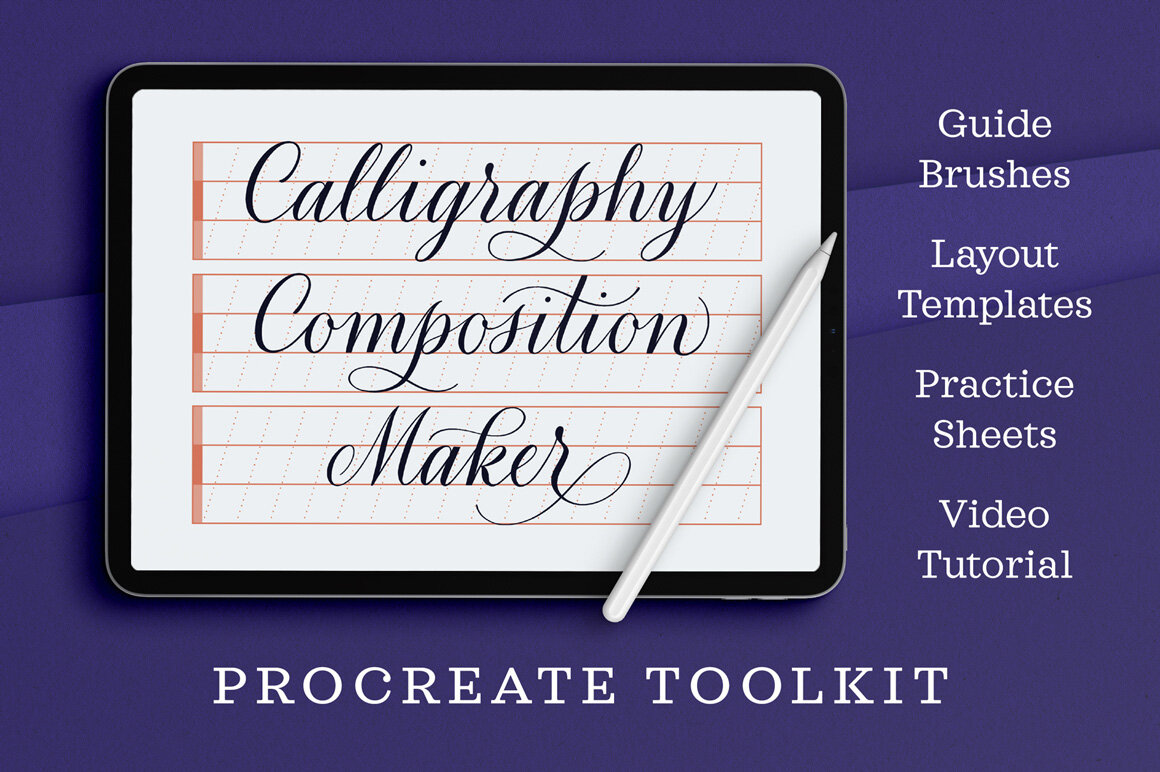
My approach to creating resources for other people is always to start by asking myself what resources I want. This can mean writing the books I wish I’d had when I was learning, or designing the Procreate brushes I need to make my own work. In other words, I always make brushes that I want to use, so when asked what my favorites are, I have to include my own. Topping my list is my Ultimate Lettering and Calligraphy Procreate Kit, with which I literally make most of my digital calligraphy. Rather than design these brushes for the pack, I built the pack from brushes I’d already made, used, and loved. The second-most-used pack in my brush library is my Calligraphy Composition Maker for Procreate. I used to find myself endlessly importing lettering guide images, resizing them, adjusting the slant, and still not being happy with the result. So I made this bundle of pre-made guide stamps and pattern brushes where I can quickly grab all my most-used guide layouts.
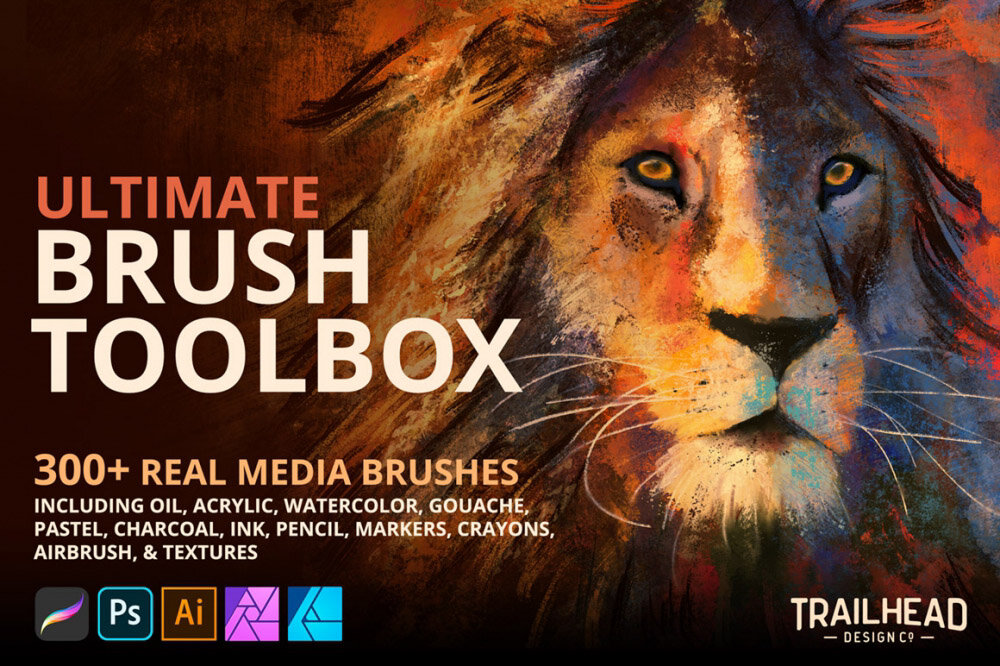
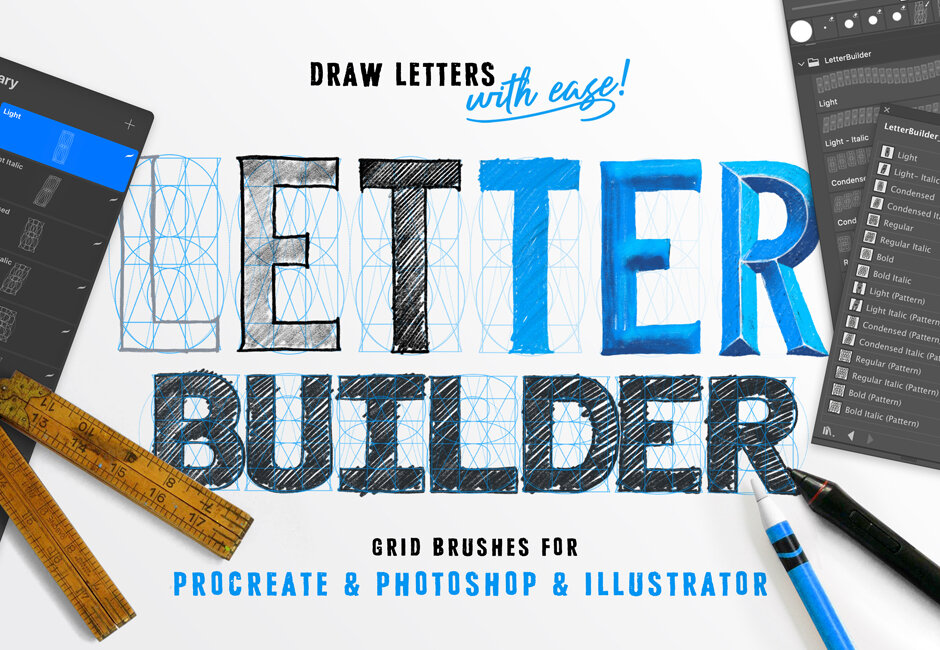
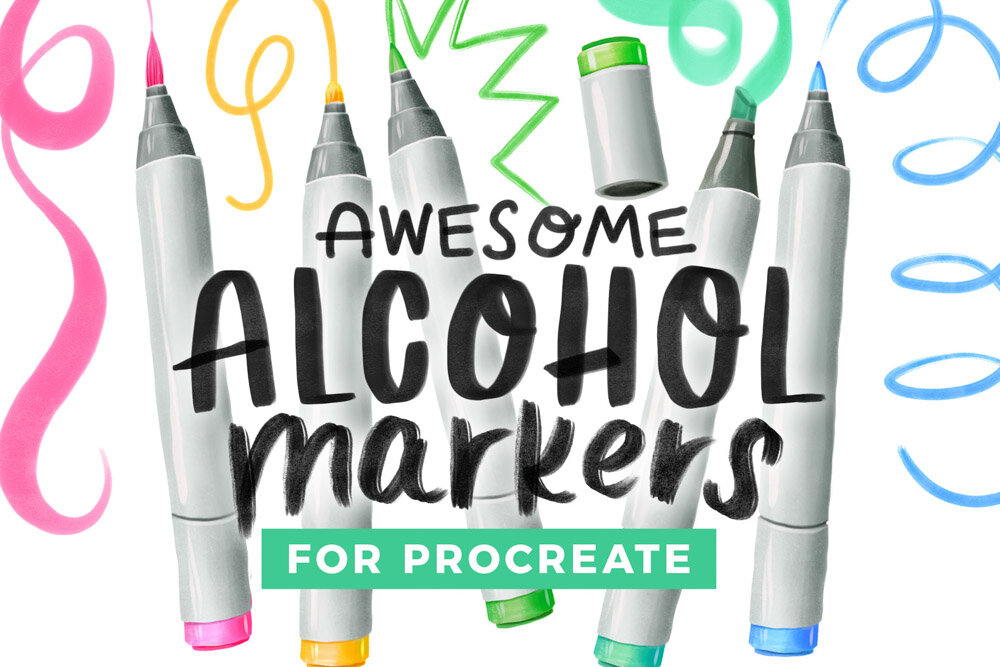
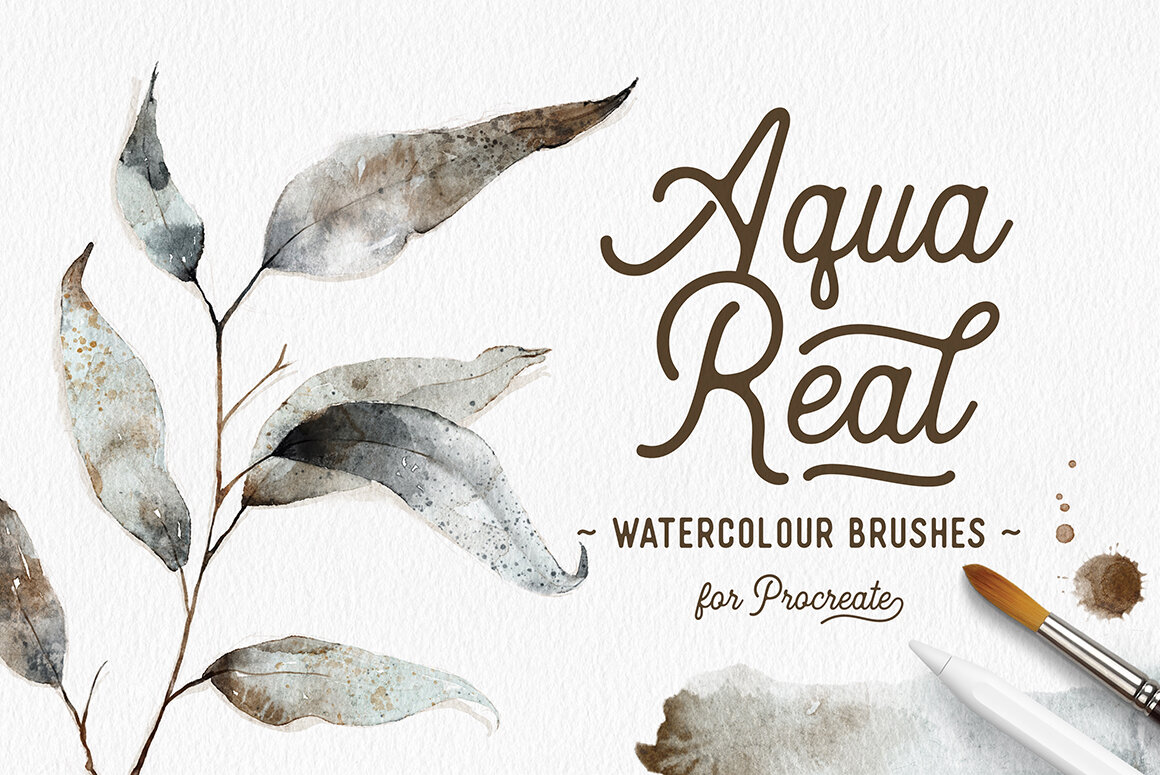
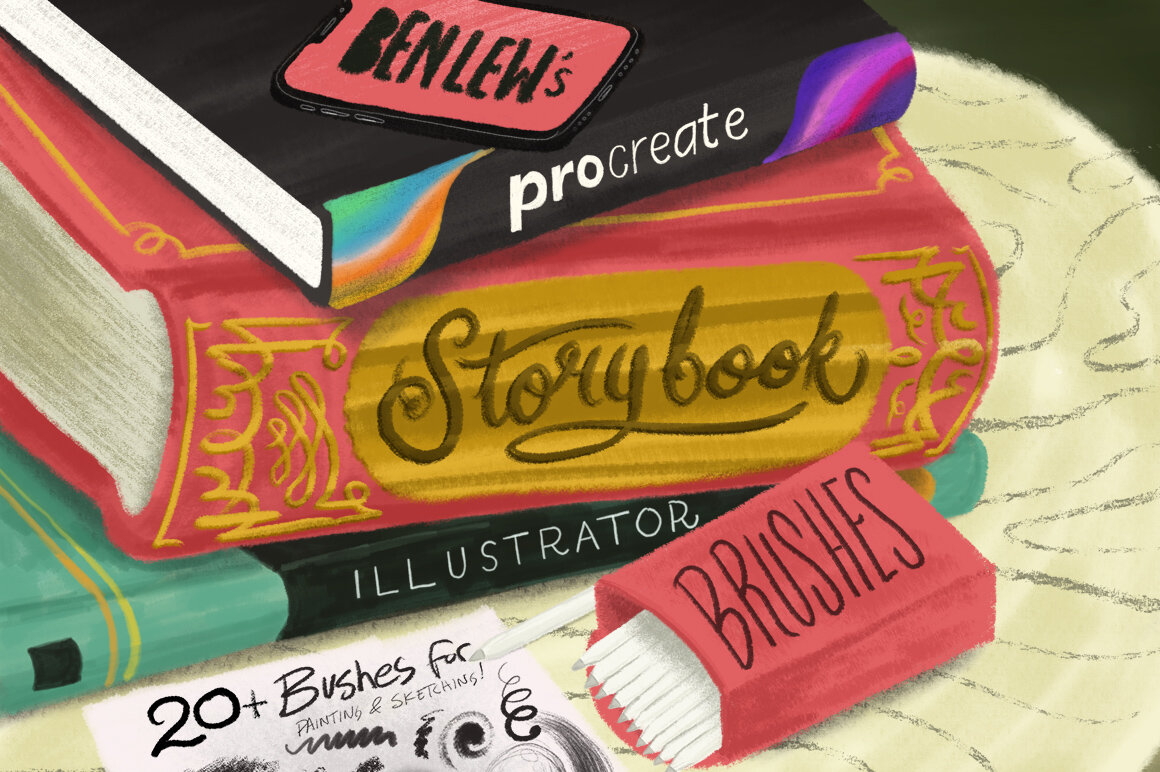
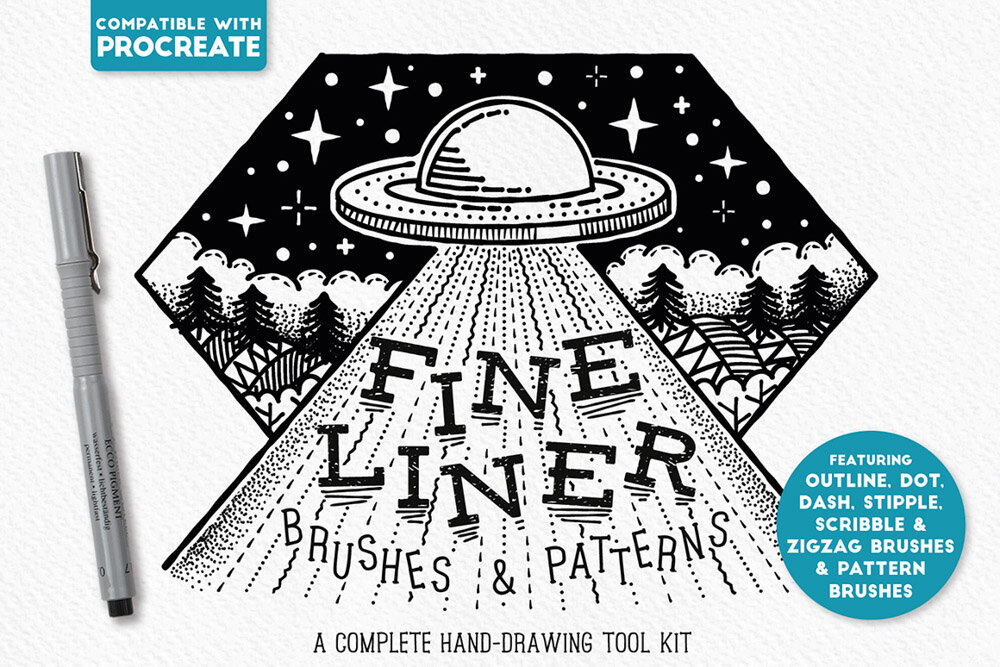
For painting and illustration, and coloring my lettering with realistic texture, my all-time favorite brushes are Trailhead’s Ultimate Brush Toolbox and Ben Lew’s Procreate Illustrator Brushes. These just never get old! I also love Ian Barnard’s useful Letter Builder Grid Brushes, which are not just for Procreate but for Adobe Photoshop and Illustrator, too! And rounding out the list are Lisa Bardot’s Awesome Alcohol Markers, Artifex Forge’s Fine Liner Brushes and Patterns. and the realistic paint effects of Lisa Glanz’s Aqua Real Watercolour Brushes.
Check out even more of my favorite Procreate brush packs at Calligrafile, my side project website!

Subscribe to my newsletter to get free content and lettering resources to your inbox each and every week.
If you are already a subscriber and need the downloads link again, you can find it in the footer of my newsletters, or you can contact me and I’ll email it to you!
You might enjoy these Procreate tutorials:


I’ve teamed up with three awesome lettering artists to bring you this incredibly comprehensive lettering course bundle.